Customers shopping at brick-and-mortar stores have the chance to handle the items on sale and inspect them closely, from multiple angles, before purchasing them. In e-commerce, however, product photos are often all consumers have to go on when it comes to assessing how a particular item looks and imagining how it might perform. Because of this, the quality of a particular merchant’s product photos can make or break their sales, whether they are operating through their own online storefronts or on other e-commerce platforms.
and boost their sales. If you’re a seller on the GrabFood and GrabMart platforms and need actionable advAt Grab Philippines, we’d like nothing more than to help our partner merchants find good ways to market their products ice on effective product photography, rest assured that you’re in good hands. Our handy guide will help equip you with the skills and knowledge necessary to create photos that sell, sell, and sell more.
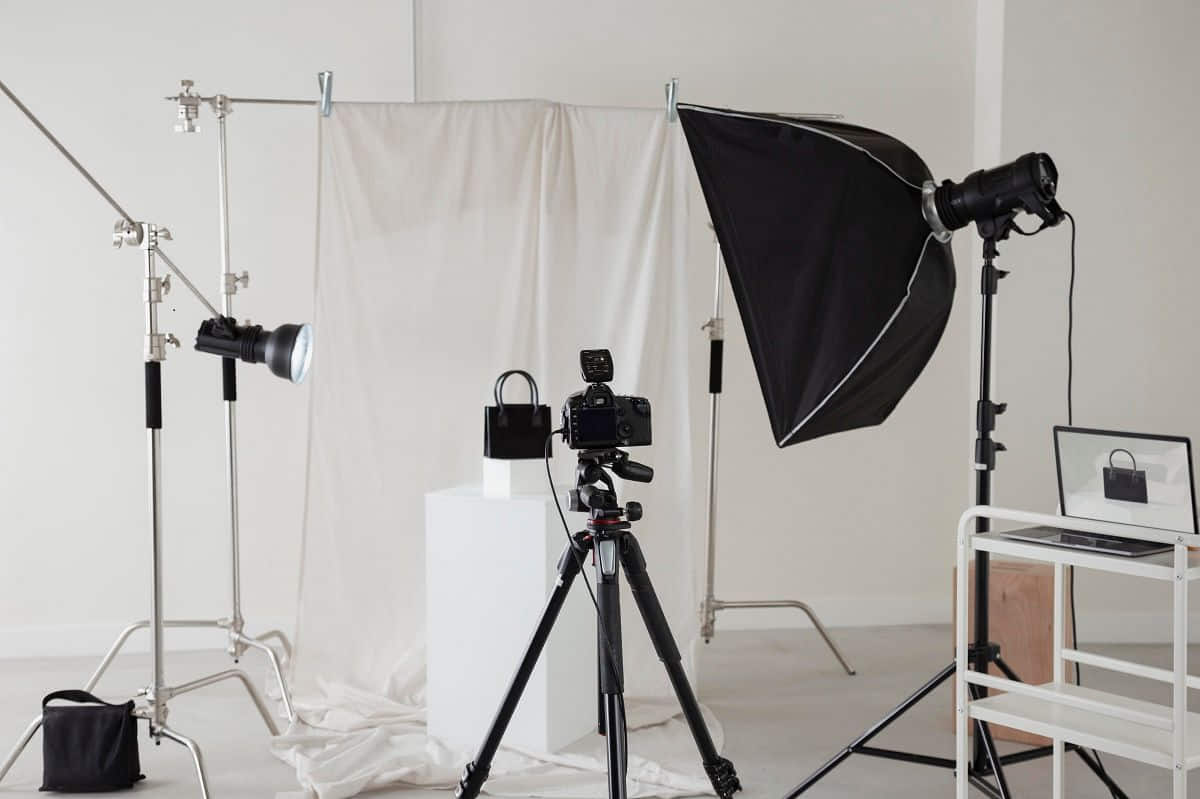
Choosing Appropriate Equipment
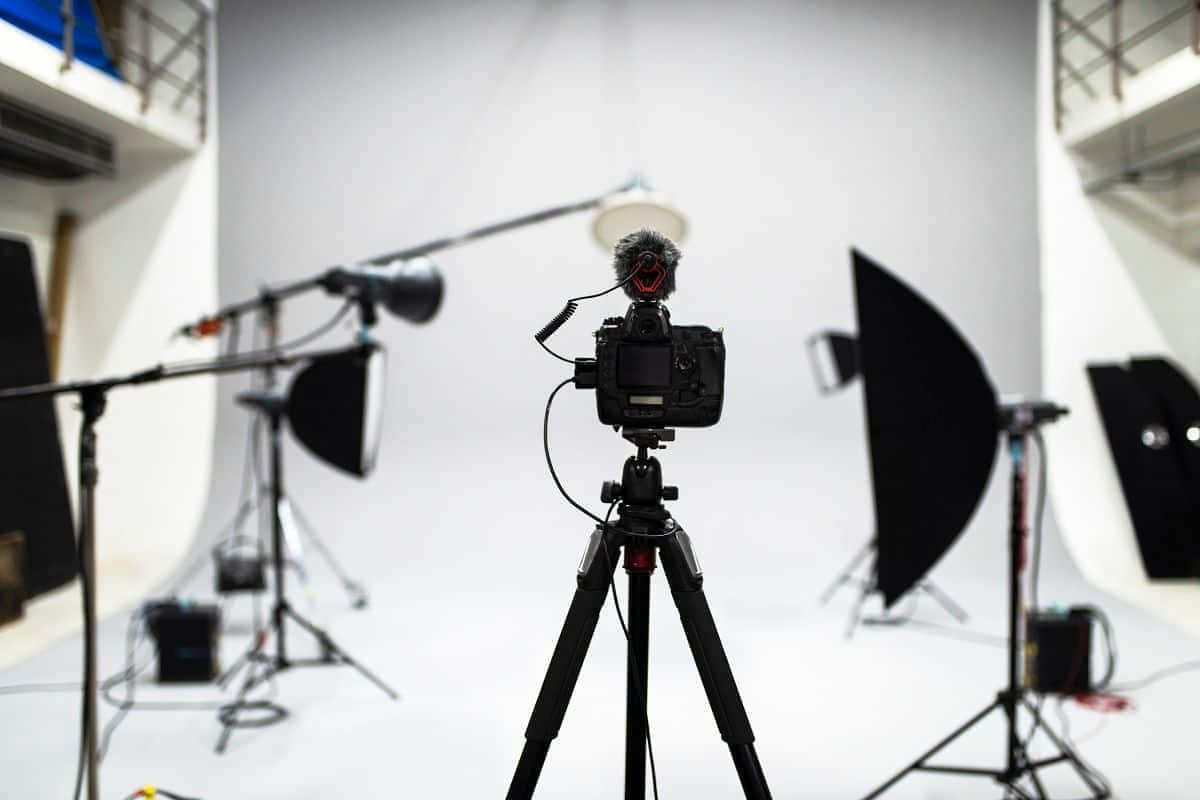
Good product photography necessarily starts with putting together the right tools. For Grab Merchants who’d like to take the best quality photos possible, the following pieces of equipment are essential:
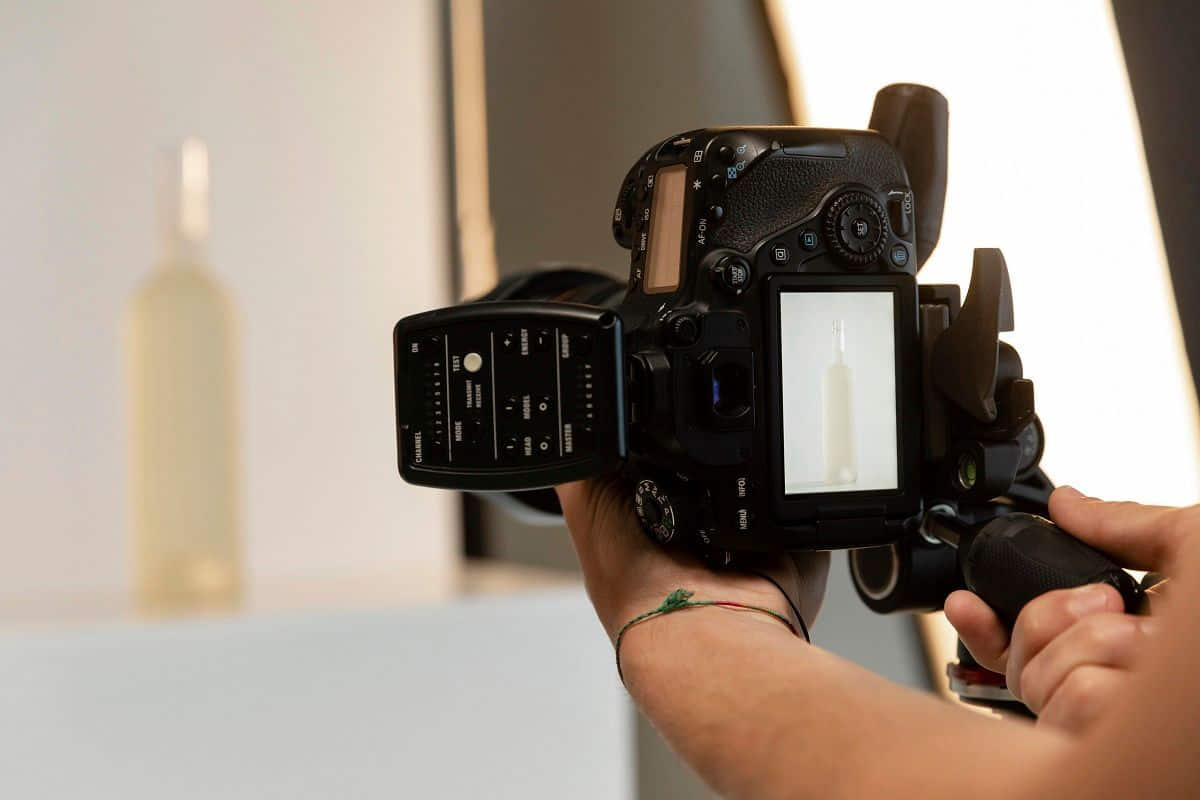
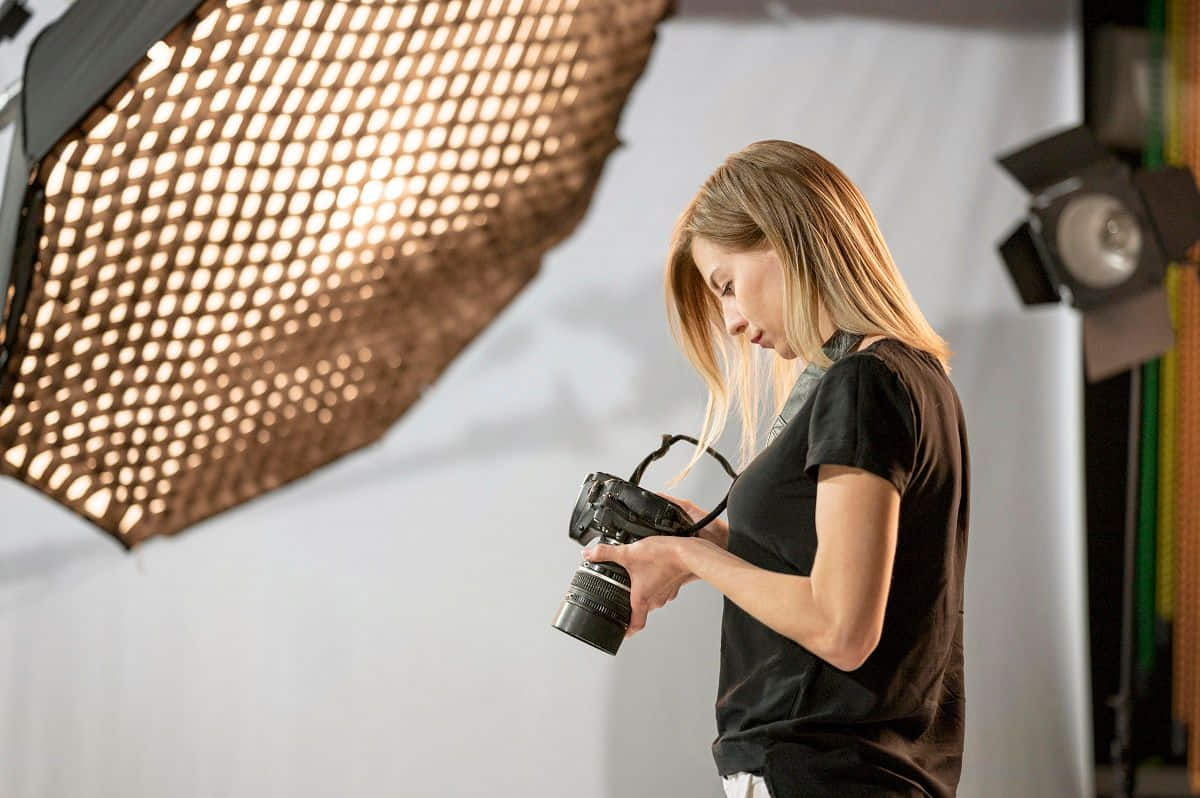
Camera
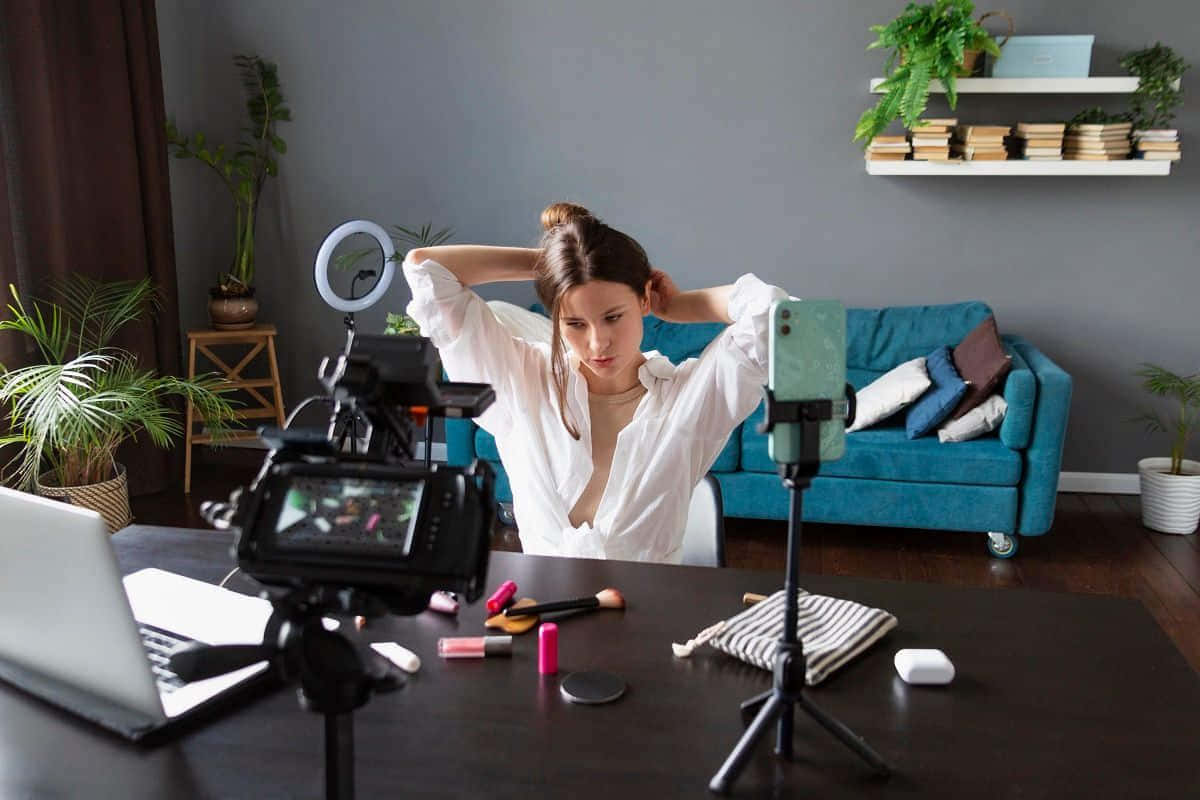
Many sellers are under the assumption that they’ll have to invest in top-of-the-line cameras with professional shutter speed, aperture, and ISO capabilities, as well as a full-frame sensor, huge resolution, interchangeable lenses, and all sorts of sophisticated settings. However, this simply isn’t the case. If you do have the privilege of owning a high-end camera, you’d certainly do well to take advantage of it for product shoots. There’s no need to break the bank if you don’t, however, as many online sellers right on the Grab platform have found plenty of success shooting their products with a simple smartphone.
Newer smartphone cameras now come equipped with powerful lenses that allow them to take high-quality, almost professional-looking photographs. These cameras also boast a range of customizable settings that allow the photographer to adjust to different lighting conditions and shooting environments. Given this, photographing your products with your phone is a more than viable option that won’t just produce excellent results but will also save you a lot on equipment costs.
Tripod
A tripod can help you achieve a consistent, standardized orientation across all the product photos you take, and it can also help you produce higher-quality images in darker environments or under low-light conditions. It’s also much more affordable to buy and easier to set up a tripod these days than it was years ago, when large, professional-grade tripods were more or less the only available option.
When selecting the right tripod for your setup, you’ll mainly have to choose between traditional and flexible options. Traditional tripods are a solid, fuss-free choice if all you need is a sturdy base on which to mount your camera or smartphone at a set height. A flexible tripod, meanwhile, will have bendable legs that you can manipulate to achieve your desired angles.
Sweeps
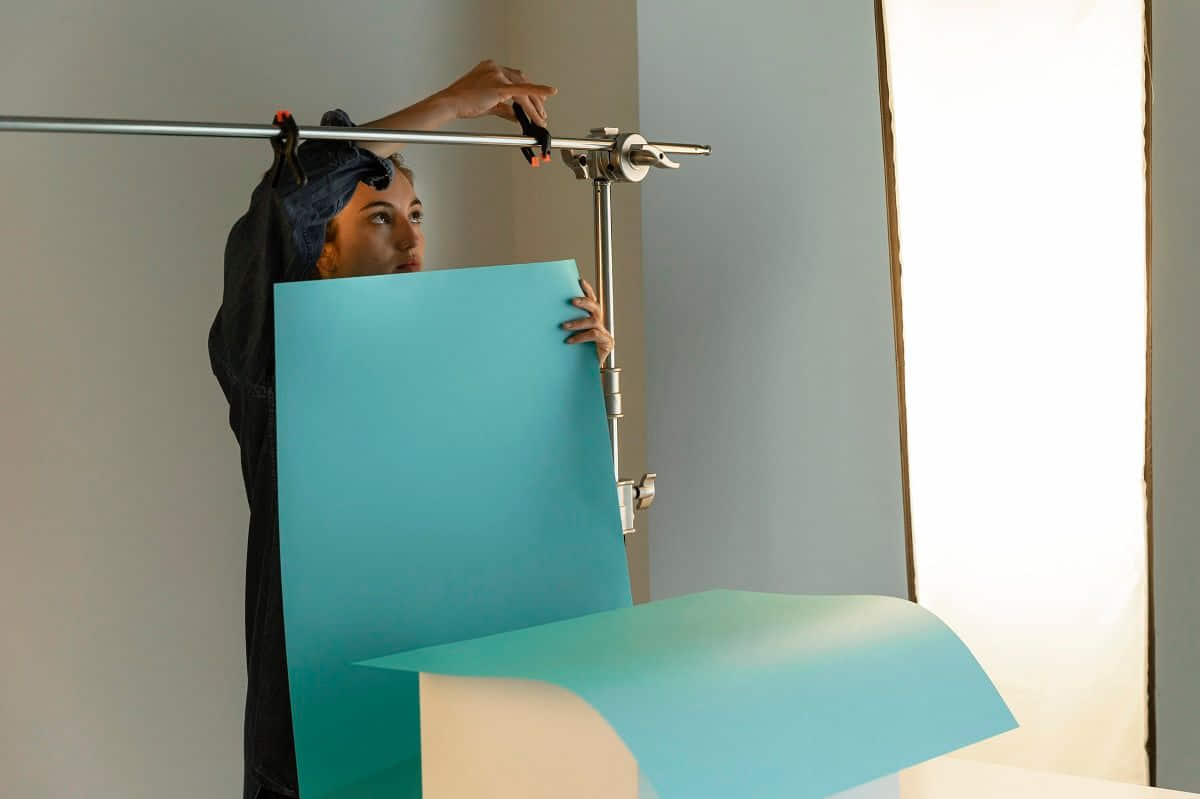
If you prefer a smooth white background for your product photos, getting a paper sweep is the best way to achieve it. Sweeps are rolls of paper several yards long that you can place underneath and behind your product to create a seamless backdrop. If you’re on a budget, white poster board from your local art store will also work just as well for this purpose, provided that the paper you choose is a true, pure white, rather than off-white.
Reflector Boards
Reflector boards, also known as bounce cards, are flat, reflective surfaces that photographers use to redirect light onto a particular object or scene. They’re typically used to redirect light and control contrast, as the light bouncing off a reflector board can help make the shadows in a photograph less dark.
Though many specialized photographic reflector boards are available for purchase, you can also improvise your own reflectors using white foam board. You may also want to add a black foam board to your setup for photos in which you want the shadows to be deeper, which can be especially helpful for capturing predominantly white products against a white backdrop.
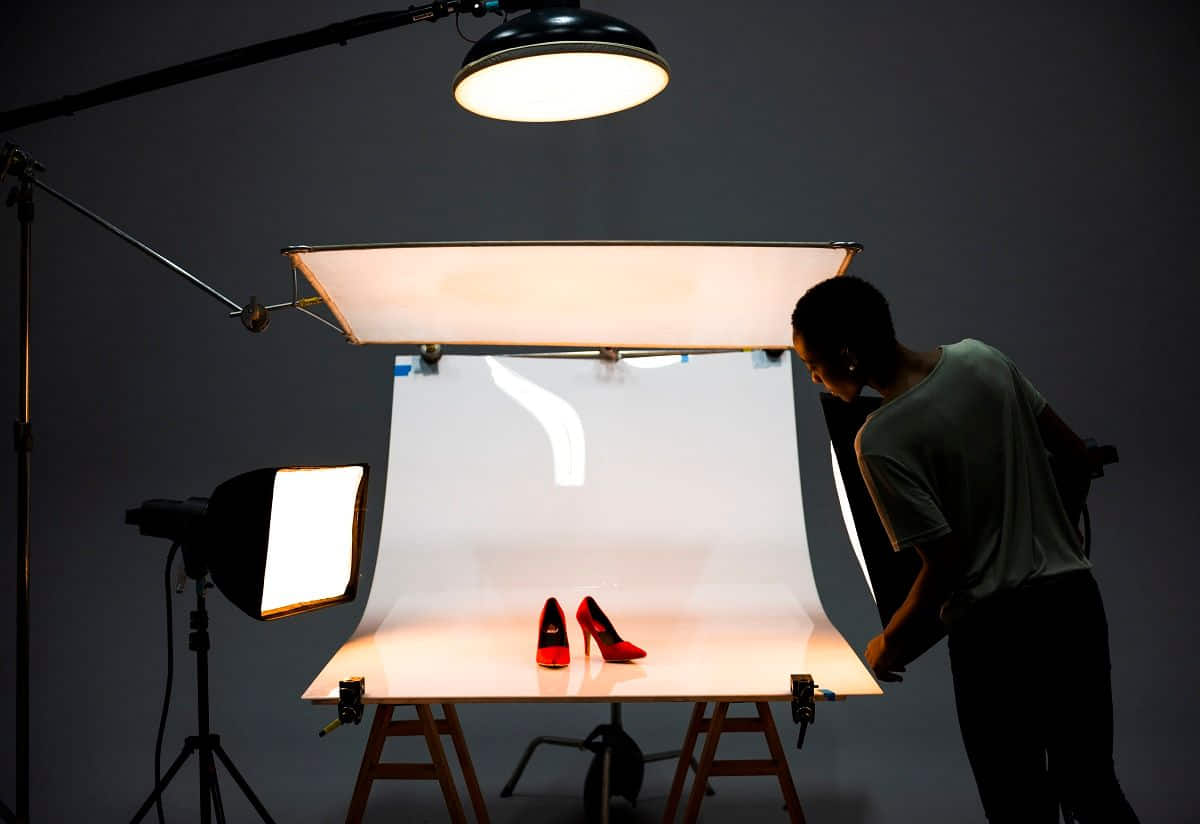
Working with Lighting
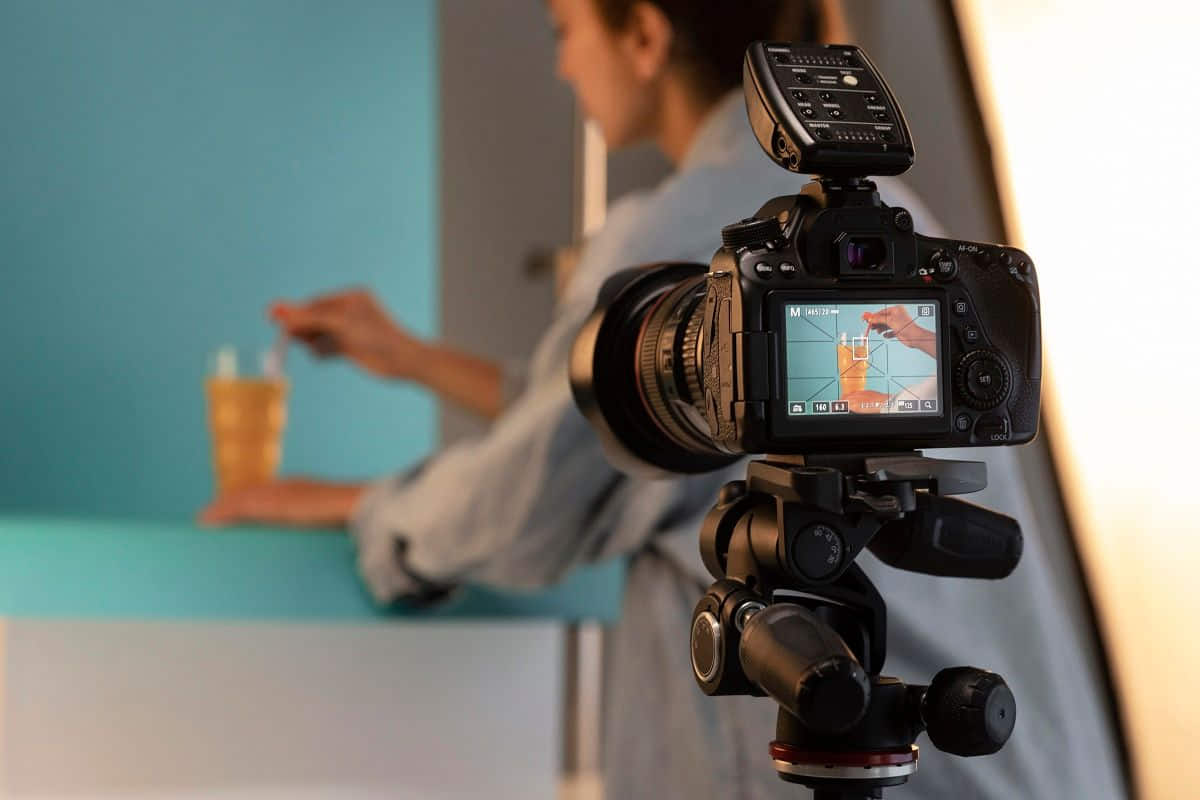
You’ll want to make sure your pictures are appropriately and adequately lit, so that customers browsing Grab can get a visually accurate, in-depth look at the items you sell. When thinking about how to work with lighting, bear in mind that no single lighting setup will showcase every single product well. Be prepared to adjust your lighting setup based on the products you’re shooting on a particular day.
The following are essential considerations for lighting your product photos effectively:
Shooting in Natural versus Artificial Light

Natural and artificial light are the two primary light sources availableto photographers. Which source a photographer chooses to utilize for a particular shoot will depend largely upon the subject and the intended purpose of the final photographs. As a general rule of thumb, however, photographers will typically use only natural light or only artificial light per photo rather than mixing light sources.
Natural light refers to sunlight or daylight, which means that photographers seeking to utilize it will have to be mindful of the weather and the time of day. It’s also often referred to as “soft light,” as the sun provides much more spread-out, gentler illumination than artificial sources like lamps or spotlights.
Natural light is an ideal choice for your product photographs if your objective is to create a sense of scene or atmosphere, rather than to highlight particular qualities of the product. It’s also preferable when you’re shooting people wearing, using, eating, or otherwise handling the product, as natural light tends to be more flattering. Some restaurants, for instance, will feature photos of particular star menu items being cooked or eaten. Photos like this typically depend on an emotional, human element to draw in customers and are thus well-served by warm, gentle natural light.
Artificial light, meanwhile, comes from manmade sources such as bulbs or candles, which produce smaller and more focused illumination than ambient daylight does. Artificial light is also sometimes called “hard light” for its concentrated quality, and it’s most often used to showcase specific product details or features. If you’d like to simply showcase a product against a plain backdrop, without any distracting surrounding details, it makes the most sense to choose an artificial light source.
Filling and Bouncing Light
When any kind of light hits your product, the product will inevitably cast a shadow on the side opposite your chosen light source. As these shadows can appear quite harsh on camera, you’ll want to soften them by introducing a little extra light into your photo. Two common techniques you can employ for this are as follows:
- Supplement your main light source with a second, dimmer light, often known as a fill light. The milder illumination your fill light produces will help temper the shadow your product casts. You’ll want to set your fill light opposite your main light to achieve this, with the product sitting in between.
- Instead of a fill light, you can also position a specialized or improvised bounce card or reflector board opposite your main light source. As mentioned earlier, a bounce card will catch the hard light from your main light and redirect it back onto the product.
Photography Tips and Tricks
Once you put together your setup and start shooting, you’ll soon discover that composing an excellent product photo takes real diskarte, much like any other aspect of doing business. Try the following pro-tips to achieve the perfect shot:
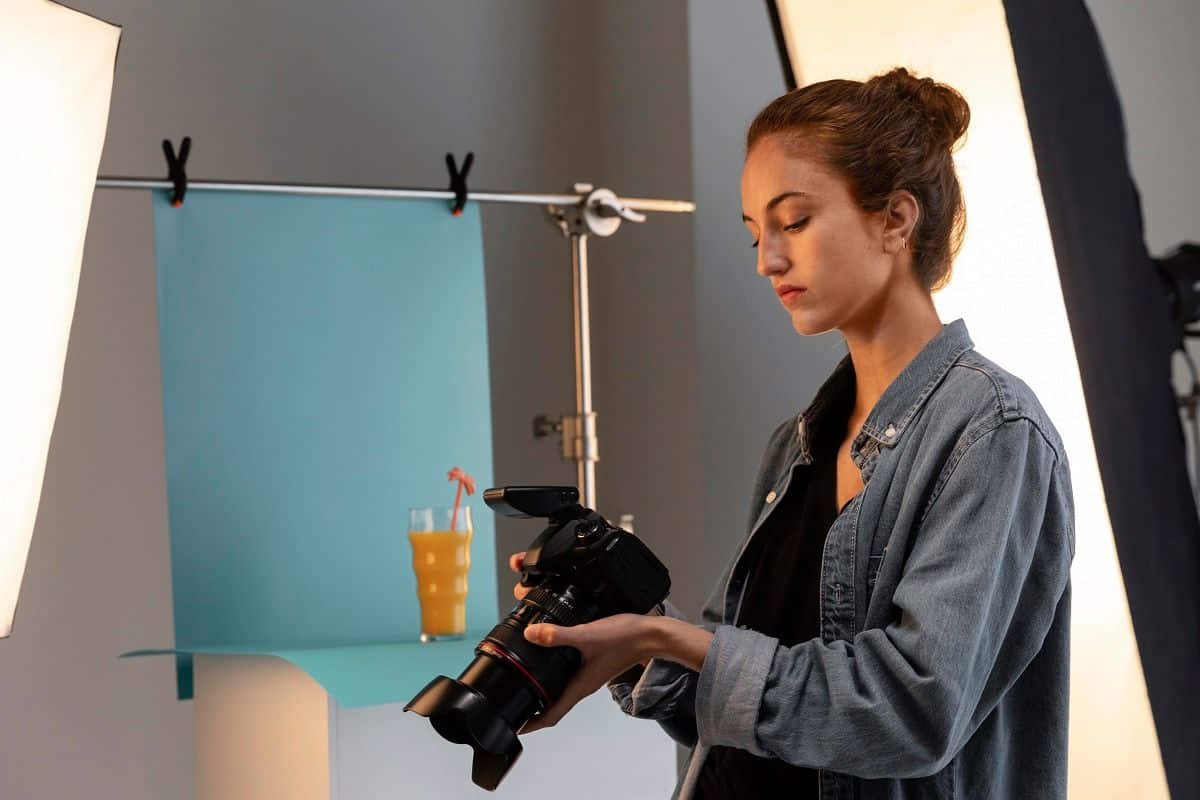
Think Carefully about Backgrounds
Backgrounds help shape how customers perceive your product online and may even influence their decision to eventually purchase it. For product photographs, you mainly have your pick of a dynamic real-word background or a plain, solid-colored backdrop.
A plain background is often a go-to choice for product photographs because it’s free of any details that might compete for the viewer’s attention. Many photographers especially favor pure white backgrounds over other colors for this purpose. If this is the look you want, it’s best to place your product on a sweep. The curve of the sweep as it extends upwards behind the product will be invisible on your camera, creating a fully seamless, spotless white surface on which to showcase your product.
Using real-world backgrounds might be an appealing choice if you want to show products in use or modeled by particular people. The challenge of using these types of backdrops, however, is they’re often full of other objects that can steal the viewer’s focus. You can emphasize your product with portrait mode, which is a photo setting that most high-quality cameras and even some smartphones are now likely to have. This mode blurs the surrounding scenery (i.e. it creates a “bokeh effect”) so it doesn’t compete against the photo’s actual subject, making it obvious to viewers which item is the one forsale.
Prepare Products before Shooting
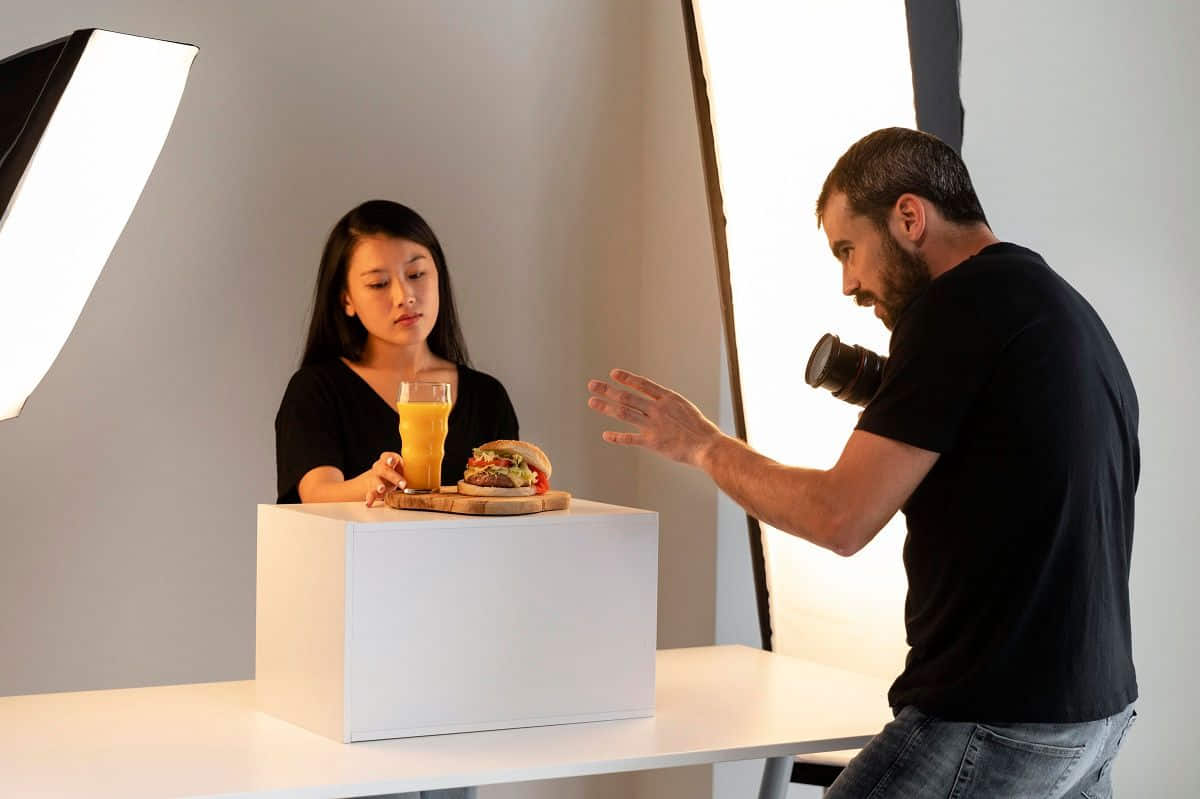
Before you pick up your camera, take some time to make sure that the products you’ll be shooting look their best. If you’re photographing garments, for instance, spread them out on a flat surface and make sure they’re wrinkle-free, or display them on a mannequin in a contrasting color. If you’re photographing food, make sure to plate it well and to shoot immediately when the food is freshly made so that its components don’t look limp or soggy.
All items you shoot should be clean and free of any unsightly spots of dirt, dust particles, fingerprints, and other blemishes. Fingerprints on glass and metal surfaces are especially noticeable in photos and very difficult to remove, so consider wearing gloves while cleaning and preparing your products.
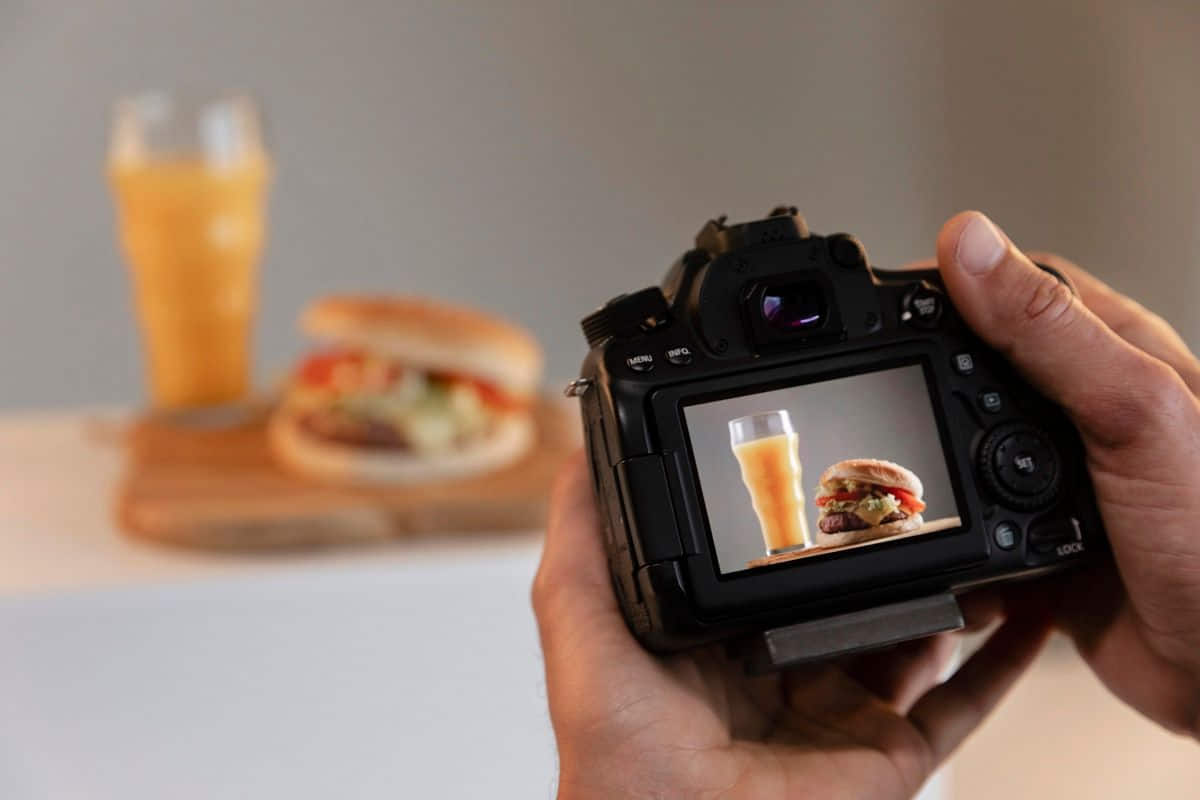
Take Multiple Photos per Product
Online customers don’t have the luxury of picking up an item and examining it at length. Providing them with multiple product photos from a variety of angles, however, can simulate that experience.
When photographing your products, there’s no reason to stop at just one photo per product, or to use the same general composition for every picture you take. Instead, change up your angles to give your viewers variety. Supplementary close-up shots, for example, let your customers get a close look at fine details that might not be visible in wide shots. Some merchants also photograph their menus or product labels, allowing customers to read key information about the products they intend to buy.
Finalizing Your Product Photography Setup
Now it’s time to gather all the information we’ve learned into a concise list of steps for effective product photography. Merchant-partners can review these steps or share them with staff and team members as part of a joint effort to produce stellar photos:
- Choose the right equipment. Essentials include a dedicated camera or smartphone with features that suit your needs and a sturdy tripod. Tools like photography sweeps and reflectors may also be helpful.
- Determine whether you’ll be working with natural or artificial lighting.
- Decide on whether you’ll be mitigating dark shadows with fill lights or reflector boards.
- Choose between a plain and a real-world background for your shoot
- Clean and prep your products adequately for shooting.
- Take a variety of photos per product. Feel free to play with angles and composition to highlight different product features or create a specific impression for viewers.
Accessing Even More Learning Opportunities through Grab

The most enterprising merchants know there’s always more to learn about doing good business, and Grab is here to help you do just that. New to our platform and eager to see how it can elevate your business operations? Use our Merchant Training Scheduler to set up a training session. Looking for a reliable place to read up on important topics such as effective marketing, food safety, and quality management? Visit GrabAcademy, an extensive learning resource center that’s open exclusively to Grab’s merchant-partners.
Grab and its affiliated merchants work together tirelessly to market and sell top-class products to consumers all over the country. Don’t hesitate to reach out to Grab for any further marketing advice, support, or assistance you and your staff might need.